
The Best Way to Remove a Sink Stopper
 When it comes to DIY projects in your home, there are a few things that seem much easier than they truly are. We could give thousands of examples, but the one we’re going with today is your bathroom sink stopper.
While some sink stoppers simply pop in and out, a majority of them do not. Because of this, we’re sharing the best way to remove a sink stopper.
The Types of Sink Stoppers
As we mentioned above, some sink stoppers can pop in and out, others, not so much. While there are endless styles of sink stopper you can find, there are three common ones that are found in bathrooms across Sacramento and the East Bay.
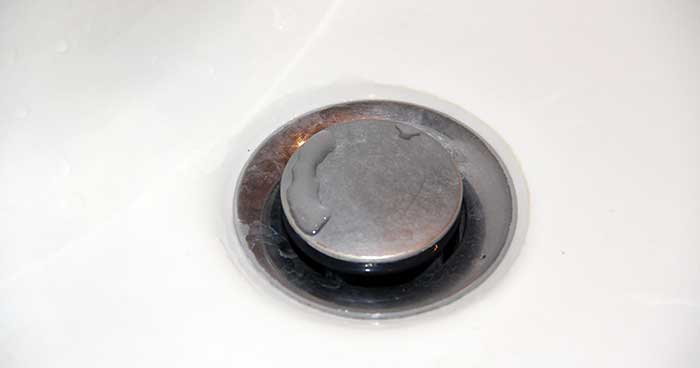
- Pop-Up – Pop-up sink stoppers have a lift handle that move them up and down. When pulled down, they seal the sink, so nothing gets down the drain. When pushed up, the sink is open. This is the most common type of sink stopper we see.
- Lift-And-Turn – As the name implies, a lift and turn stopper can be lifted out of the drain with the turn of a knob. These stoppers can be identified by the prominent knob in the middle.
- Push-And-Pull – While a pop-up and push and pull stopper look alarmingly similar, they are not. A push-and-pull stopper just needs to be pushed down and pulled up.
How to Remove a Sink Stopper – Step by Step
The list-and-turn and push-and-pull stoppers are easy to get out. All you need to do is essentially pull them out.
The issues come when you have a pop-up stopper. Here is the best way to remove a sink a stopper.
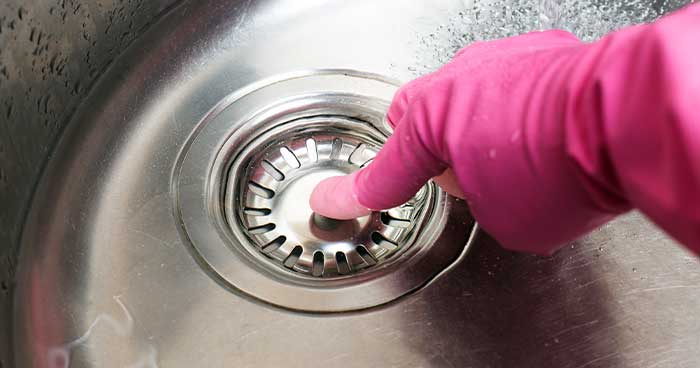
1. Try to Remove the Stopper by Hand
- If you don’t know what type of sink stopper you have, try to lift the stopper and turn it. You may get lucky and realize you have a push-and-pull stopper.
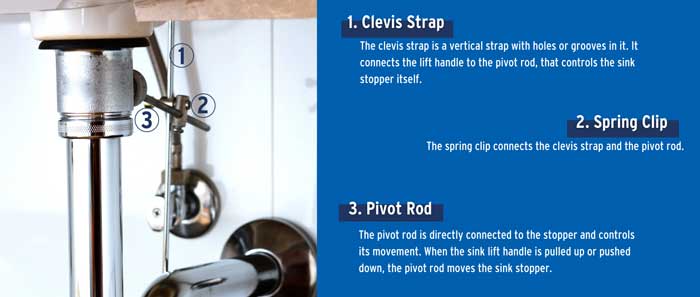
2. Locate the Clevis Strap and Pivot Rod.
- Pop-up sink stoppers move up and down with the aid of a lift handle. The lift handle is connected to a clevis strap. The clevis strap is an extension of the lift handle and aligns with the pivot rod with a spring clip. The pivot rod is what controls the stopper itself. To remove the sink stopper, the first thing you should do is locate the clevis strap, pivot rod and spring clip.
3. Remove the Pivot Rod
- Once you find the clevis rod, follow it down to where it connects with the pivot rod. Remove the spring clip that keeps the two parts together. Just be sure to place the spring clip in a place you won’t forget. The spring clip is necessary to put everything back together. This is when you should place a bucket under the pipes to catch any collected water that may fall. And now, it’s time to remove the pivot rod.The pivot rod will have a small knot at the end of it. You may need to use some force to get it out. If you can’t dislodge it with your hands, it’s time to break out a pair of pliers.
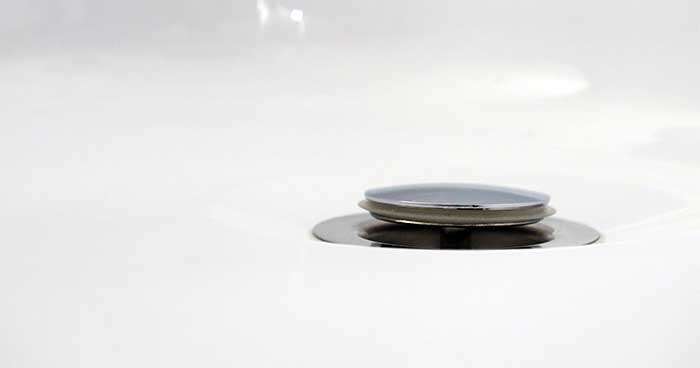
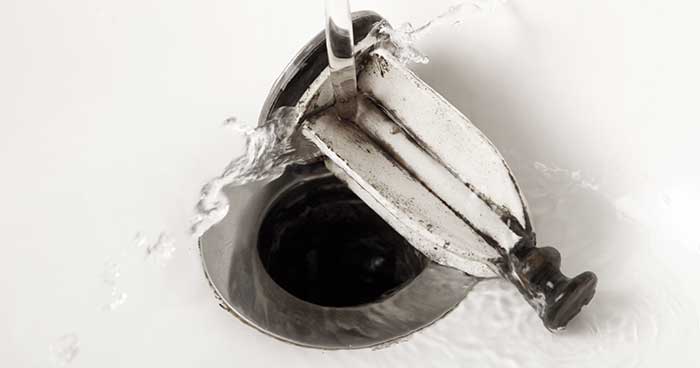
4. Remove the Sink Stopper!
- This is the step we’ve all been waiting for! Once the pivot rod is out, you can return to the top of your sink and remove the stopper.Be sure to clean the stopper and drain before you put everything back. We have tips below for how to clean both.
The Best Way to Clean a Sink Stopper
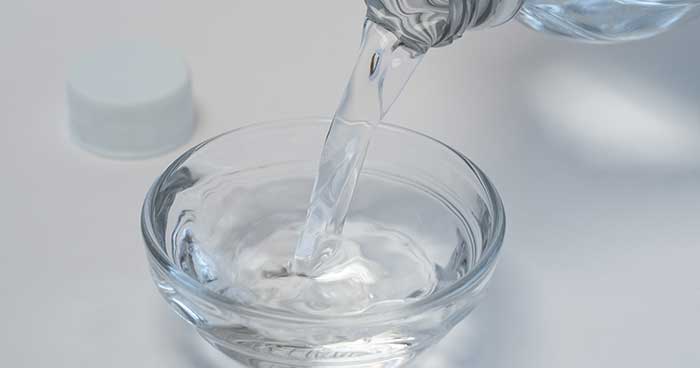
One of the best cleaning solutions can be found in your pantry. It’s white vinegar. White vinegar can be used for so much around the house it’s something we always keep on hand.
When you remove the sink stopper, put it in a bowl full of white vinegar. Let the whole thing soak for 15-20 minutes.
Then pull it out and wipe it down with an old toothbrush or cloth. Now it’s time to put everything back together.
How to Put it all Back Together

Remember how you took everything apart? Good! Now reverse it.
Begin by putting the sink stopper back into the drain. Follow that with the pivot rod and nut. After you secure the pivot rod, give the stopper a good push and pull to make sure everything is connected correctly.
Next, reattach the pivot rod to the clevis strap. Now, don’t forget where you put the spring clip. You’ll be using it to secure the clevis strap and pivot rod.
The final step in this process is to run the water and make sure nothing leaks.
Tips for Clearing a Drain
When we talk to our homeowners about their desire to remove a sink stopper, it’s usually because they want to clear their drain. Below are two of our favorite natural ways to clear a drain. We recommend doing this while your stopper is in its vinegar bath.
- Baking Soda and Vinegar – This is an easy method to remove small buildups from your bathroom sink. Start by mixing 1/3 cup of baking soda and 1/3 cup of vinegar. When the two mix they will start to immediately fizz. Pour this concoction down the drain. Give it 1 hour to do its work, then flush with boiling water.
- Baking Soda and Salt – Baking soda and salt are powerful on their own, but when you mix them together magic happens. Mix ½ cup of baking soda and ½ cup of salt, then pour it down the drain. Give the mixture 15 minutes to marinate and then flush it down with boiling water.
We’ll leave you with some parting wisdom, do not put chemical drain cleaners down any of your pipes. These concoctions can corrode and even damage your pipes.